工具
- git
- node.js
步骤
- 安装git
官网下载安装 git - 安装node.js
官网下载安装 node.js 使用git bash 安装hexo
1
$npm install -g hexo
新建一个文件夹Hexo初始化站点
1
$hexo init
hexo 部署
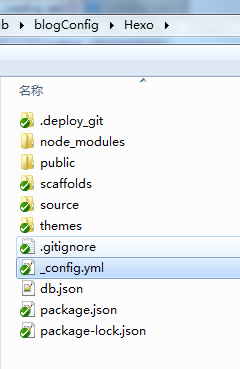
最重要的是站点部署1
2
3
4deploy:
type: git
repo: https://github.com/Lheartbeat/blog.git
branch: master主题设置
下载 hexo-theme-next,解压放在themes文件夹中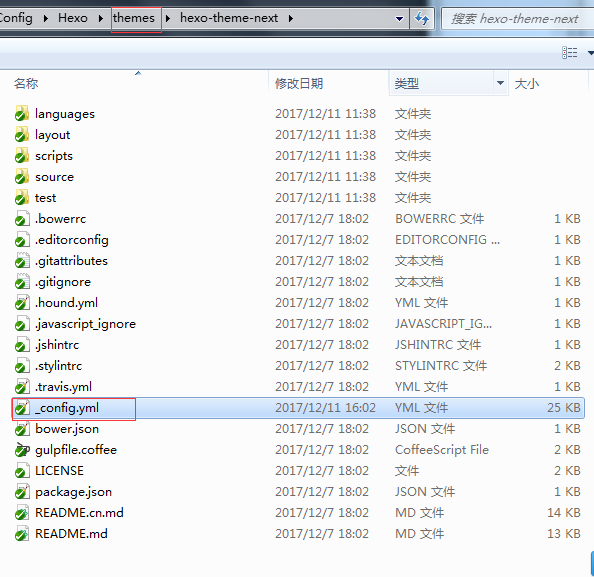
菜单设置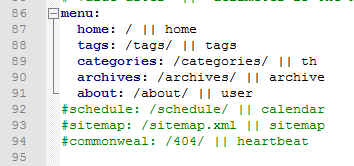
hexo的常用指令
hexo n “xx” #hexo new “postname” 新建博客,在\Hexo\source_posts里新建一个xx.md文件
如果安装了hexo-asset-image 则同时会生成一个xx的文件夹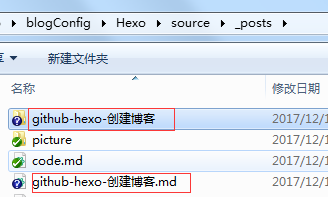
资源文件可以放在文件夹中如图片等,使用相对路径即可。1

hexo g #hexo generate #生成静态页面至public目录
- hexo s #hexo server #开启预览访问端口(默认端口4000,’ctrl + c’关闭server)
- hexo d #hexo deploy #部署到GitHub
- hexo help # 查看帮助
- hexo version #查看Hexo的版本
- hexo s -g #生成并本地预览
- hexo d -g #生成并上传
细微之处
设置头像
修改themes/hexo-theme-next中的——config.yml中的avatar:字段
markdowm显示图像
方式1:1
<img src="picture/panda.png",alt="R",width=600 height=300>
方式2:1

图片的路径是相对路径。是相对xxx.md文件的路径
比如
picture.md 文件的路径 E:\GitHub\blogConfig\Hexo\source_posts\picture.md
panda.png文件的路径 E:\GitHub\blogConfig\Hexo\source\image\panda.png
在picture.md文件中使用panda.png图片的路径是../image/panda.png
1
